|
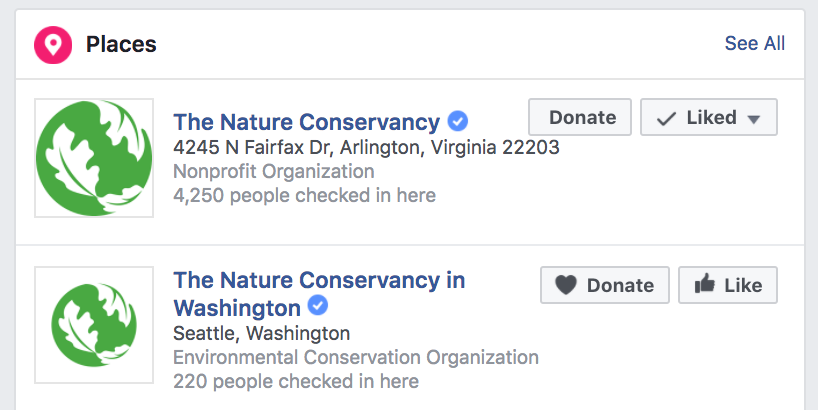
You used to have to know a guy who knew a guy in order to get your Facebook page verified. Now the process is automated and can be completed in a few minutes. Find out how to verify your Facebook page, and improve the credibility and findability of your Facebook page, in a few easy steps. ** DISCLAIMER ** Facebook rolls features out to different people at different times, so if you don't see the option to edit your verification right away, try again in a month or two. Some of our clients have been able to verify; some haven't so far. What the Heck is Verification?When Facebook pages are verified a checkmark in a circle appears next to the business page name, both on the page and in search results. Why Does Verification Matter?According to Facebook, if you verify your page it may appear higher in Facebook search results. There are two other reasons why verification is a good idea:
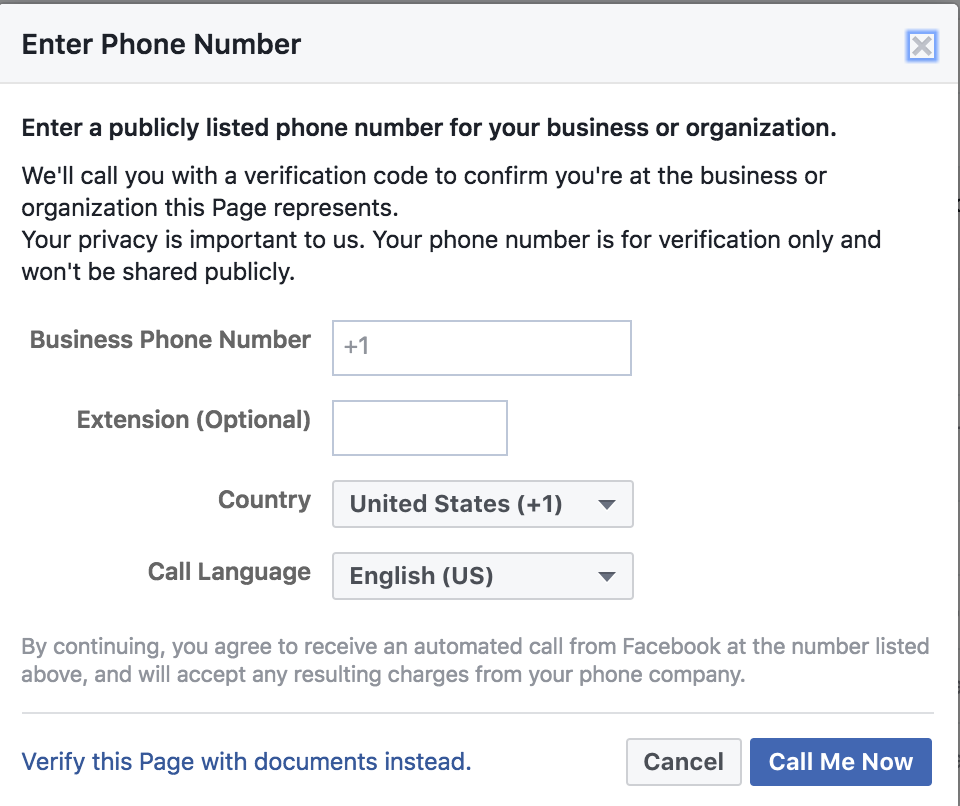
This can be particularly helpful when there are pages / companies with similar names, or when an unofficial fan page has sprung up. How Do I Verify My Facebook Page?1. Page Admin: First, make sure that you have a page admin role on your Facebook page. 2. Settings: Go to the Settings of your Facebook page.  Source: Facebook Source: Facebook 3. Edit Verification Settings: Under General Settings, select the the edit link or pencil icon next to "Verification".  Source: Facebook Source: Facebook 4. Verify Your Page: From there, you have two options to verify your Facebook page. You can either receive a call at a phone number that is publicly listed for your business... ...or you can upload a document, such as a utility bill, business license or tax file, certificate of business formation, or articles of incorporation. 5. Confirmation: You'll then get a confirmation that your page is verified and the symbol will show up right away next to your listing. The whole process takes about five minutes. For more tips on building findability and credibility, talk to us about an independent audit of your social media program.
Comments are closed.
|





 RSS Feed
